Throttle, Brakes, Switches, Radios,
etc.Everybody that builds a MKIII runs into the same
problem: Where do I put the switches so that they are in easy
reach? And where do I put the radios? There are about as many
solutions as there are Kolbs, but here's how it works for me.
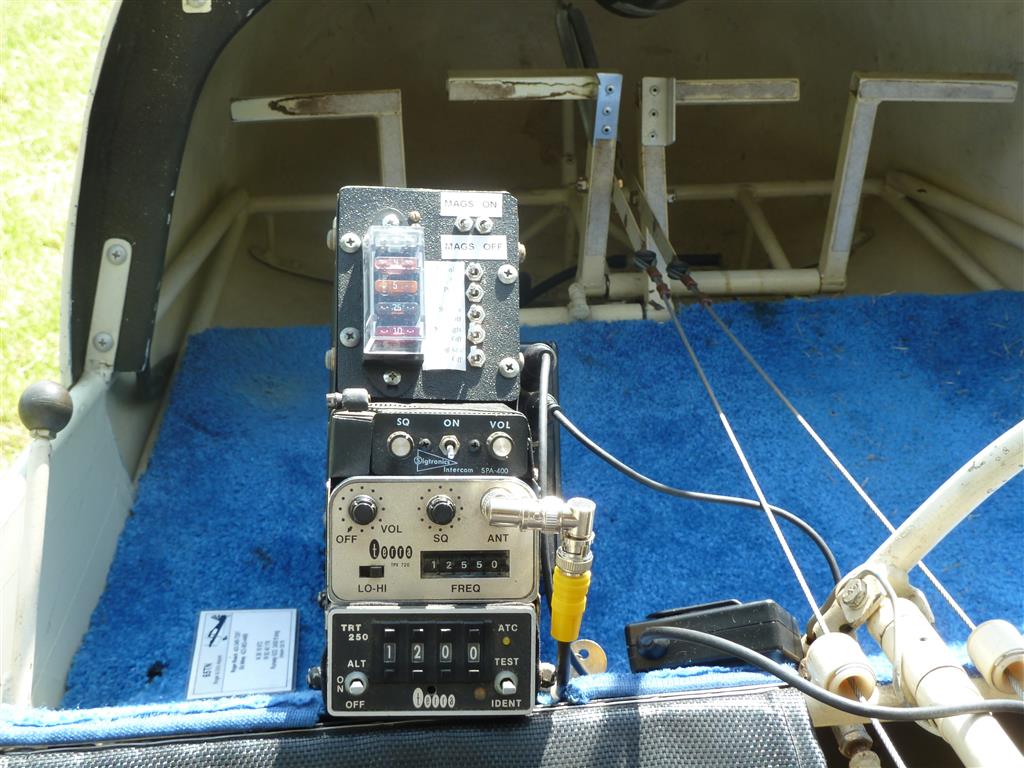
Putting the radio /switch /intercom console between the legs is
a tolerably convenient solution. The switch panel with fuses is
on top, got the fuse box at O'Reilly Auto Parts. The intercom
is just below it, then the Terra 720 radio, and then a Terra transponder
on the bottom. The GPS is on a little bracket stalk right on the
top of the stick, extending to the left about 3" which puts
it right in front of the pilot. You can see it on the Gull Wing
Doors page. The headsets plug into a box on the right side of
the console.
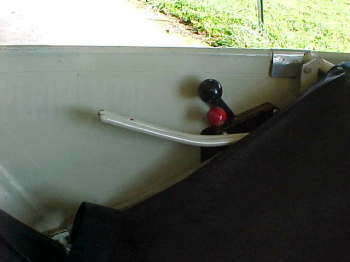
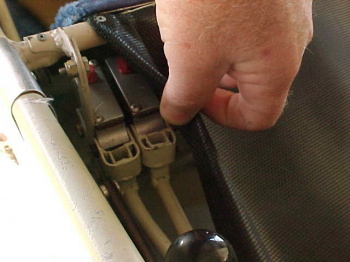
The throttle quadrant is on the sidewall next to
the pilot's left thigh. Just in front of the throttle quadrant
are the two master cylinders attached to two brake levers which
run alongside of the quadrant. They are activated by pushing down
with the left hand. Sounds odd, works great. The learning curve
is very easy.
Took a little careful fitting to make it all fit
and work, but everything is out of the way, nothing interferes
with anything else, and using the brakes differentially is very
easy. The only thing that is a bit tricky is if you are trying
to goose the throttle and use one brake or the other to turn at
the same time.
Nobody in their right mind deliberately flies at
night in front of a 2-stroke, and I'm no exception. On the other
hand, sometimes I am still not home yet and the sun has gone away,
and panel lights are needed. Radio Shack sells some neat little
12v led's that you can fit into some copper tubing from the hobby
shop, hood the light so it doesn't glare in your eyes, and light
up as much of your panel as you want for an insignificant current
draw. I have a bunch of these puppies scattered around the cockpit,
they get the job done.
Safer Seats
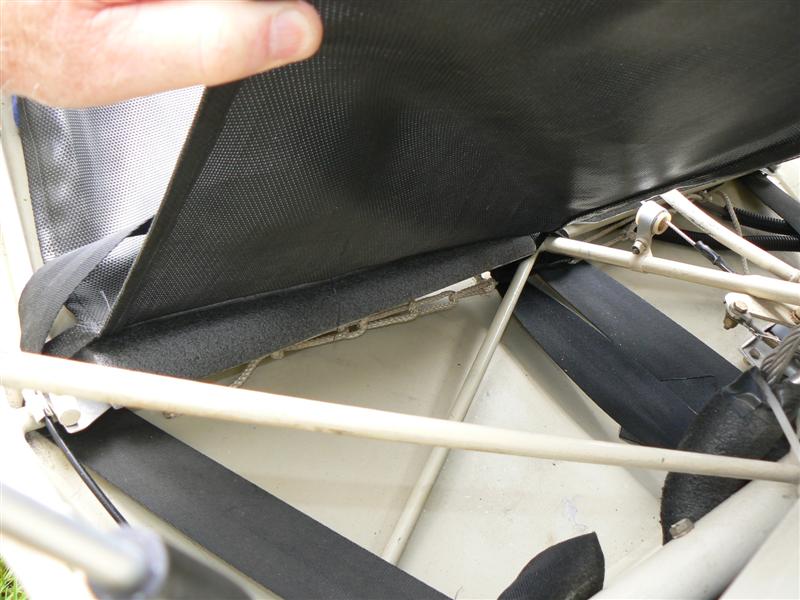
Something I have never liked was the fuselage structural
cross member that runs across under the bottom of the sling seat,
right below your tailbone. That is bad news waiting to happen.
So I modified it to improve the odds a bit. It now has a slanted
strip of aluminum rivited to it, with a 1" thick layer of
dense foam on top of it to let your tailbone (hopefully) slide
past the cross member in the event of a hard landing.
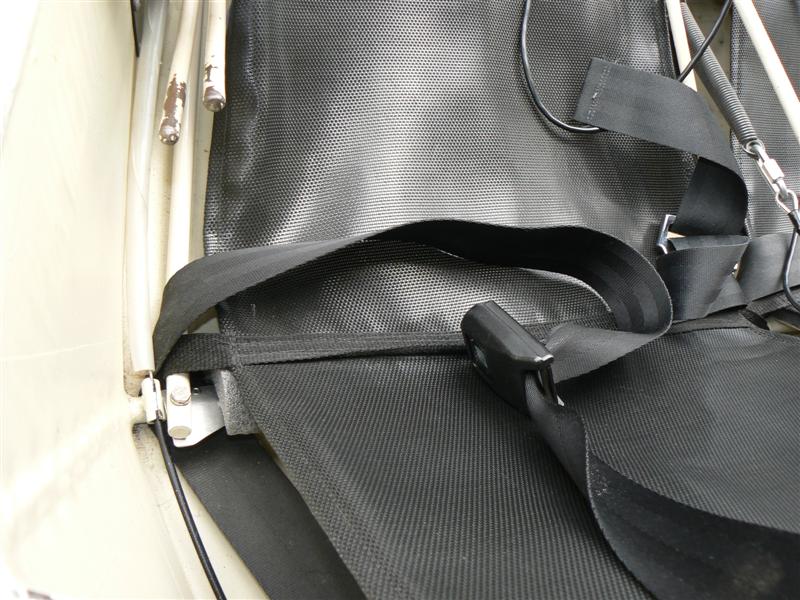
There is now a length of webbing with loops at each
end sewed to the sling seats at the same point where the original
rivits attached it to the cross member. The webbing strap extends
past either edge of the seat for several inches, the outside length
wraps around an added steel tube at the outside of each seat,
and the inside length wraps around the cluster weld at the inside
of each seat. Then the loops in the ends are pulled tightly together
with a length of nylon rope to hold the seat in position. There
is a slight amount of movement, but it is minor, and would also
allow your body (and tailbone) to move slightly ahead of the crossmember
in the event of a hard pancake. As a side effect, the seats are
more comfortable. I also had to slide the footpedals to the next
forward position to compensate.