15 Gallon Fuel Tanks
The MKIII has very little room behind/below
the seats for Stuff, and us Old Poops need to take Stuff with
us when we go aviating. Also, the stock 10 gallons of gas was
not much range with two people. 15 gallons is better.
The gap seal area is now fuel tank,
and holds 13 gallons. It weighs about 15 pounds empty and is 5
to 9 plys thick, depending on the stress areas. It rests on all
the upper fuselage tubes, each of which is covered with a rubber
radiator or heater hose, split and glued to the tubes. It was
not very difficult to make, but very tedious & messy.
I do not remember what brand of epoxy
I made it from, but it was/is not ethanol safe. Gasohol in an
epoxy based fuel tank will cause you much grief! Guess how I know
this?
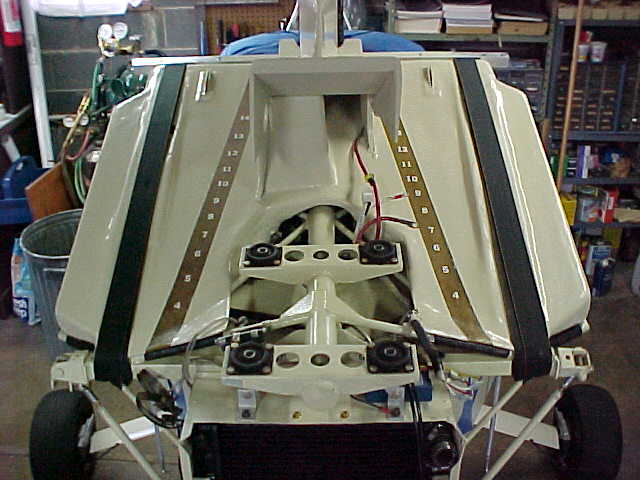
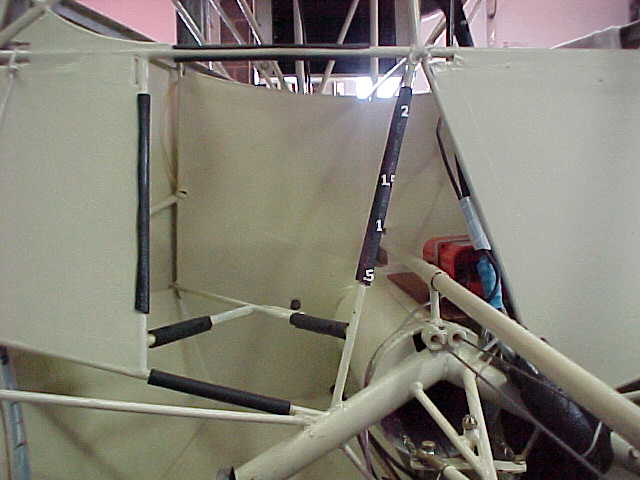
The tank is held in place with seat
belt webbing which also secures an aluminum angle that the front
gapseal is attached to. Unpainted areas are marked for fuel level.
The front part of the tank in these pictures had a built up section
that elevated the fuel filler to a higher position. Around this
elevated section was a balsa wood streamline that blended the
airflow off the parachute launcher and then smoothly redirected
the airflow up, over, and around the engine. That has since been
redesigned, but I didn't take any pictures while I did that part.
You'll see the current version on another page.
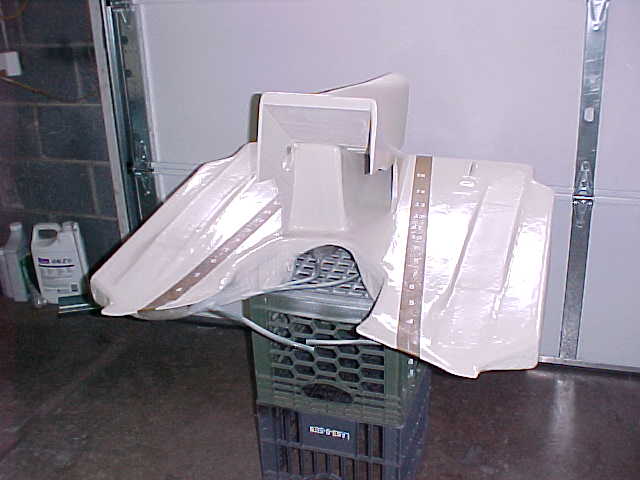
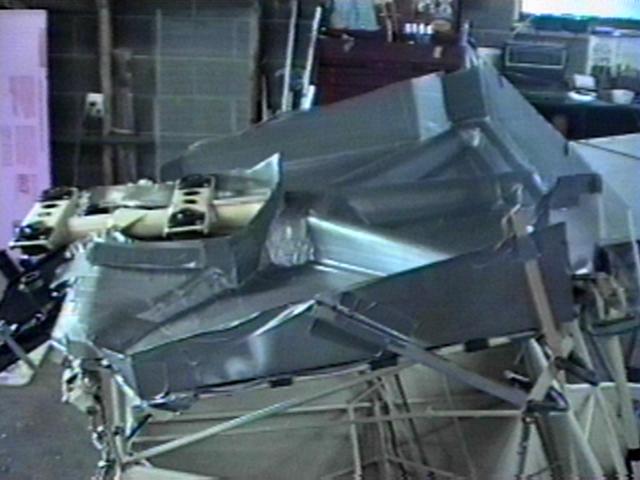
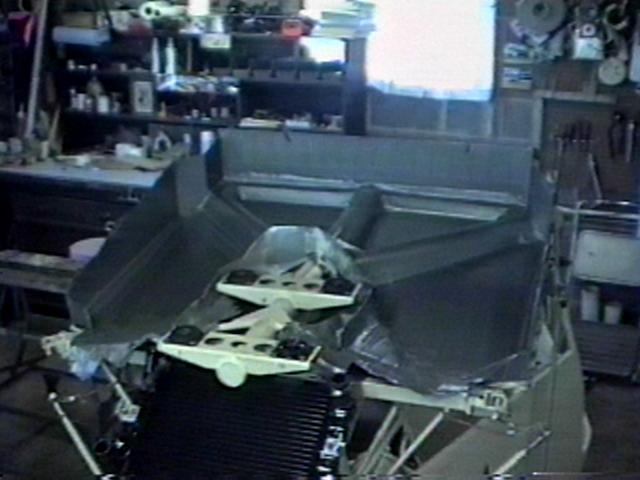
The tank was made by forming it in
place around the upper fuselage tubes. The tubes were wrapped
with two thicknesses of heater hose to allow for the thickness
of the tank to increase as extra plys were added to the outside
as it was built up. The shape of the lower half of the tank was
formed in place out of aluminum flashing from Lowe's, which was
covered in duct tape, and braced with wood. Then the glass cloth
and epoxy was laid up inside the aluminum onto the duct tape covered
areas. Epoxy will not stick to duct tape. These pictures show
the mold just before the layup began.
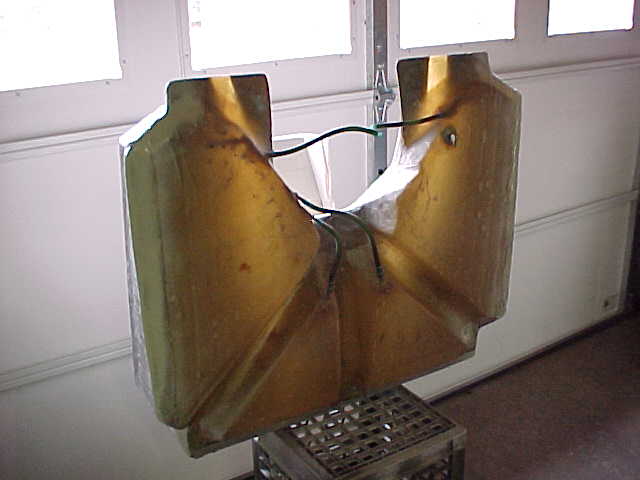
The glass plys were laid up inside
and allowed to cure, then the mold was removed and stripped off.
The top edge of the tank sides were cut to just below airfoil
shape and a 1"x1"x1/16" aluminum angle was attached
to the upper inside edge to provide an attach flange for the upper
surface of the tank. The easiest way to securely bond a metal
angle or similar item to a fiberglass surface is to drill and
cleco it, and then when you get ready to glass it, mix up a batch
of flox and epoxy to make a thick slurry, spread it on both surfaces
and then secure everything with pop rivits. The tank top is flat
and was made by covering a flat table with duct tape, laying the
cloth on it, wetting it out with epoxy, and letting it cure. Then
just pull it off and trim it to size.
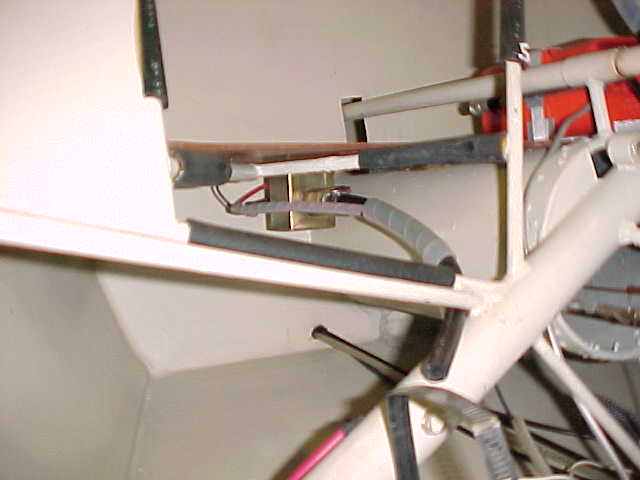
After the fuel pickups, vent lines
and transfer lines were installed, (the lower surface of the tank
divides into four sections to fit around the fuselage tubes, and
you need to have a way for the front sections to drain into the
back ones) the tank top was drilled, clecoed, slurried and rivited
into place. Then the gas filler neck was glassed on and it was
done. Then the whole tank got two more layers of glass, with extra
layers in high stress areas. Due to the complexity of the plumbing,
such as the fuel transfer lines between the front and rear sections
of the tank, vent lines, and feeder lines, removing the tank from
the airplane is not something that is undertaken lightly, and
be sure to use real fuel line (not the plastic ultralight junk)
for those hard to get to transfer lines...
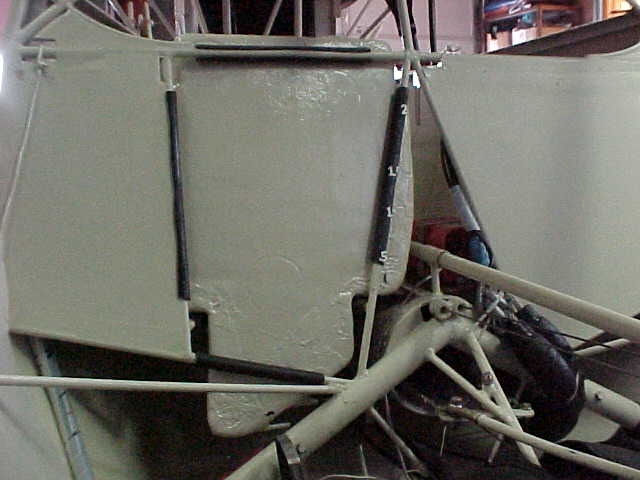
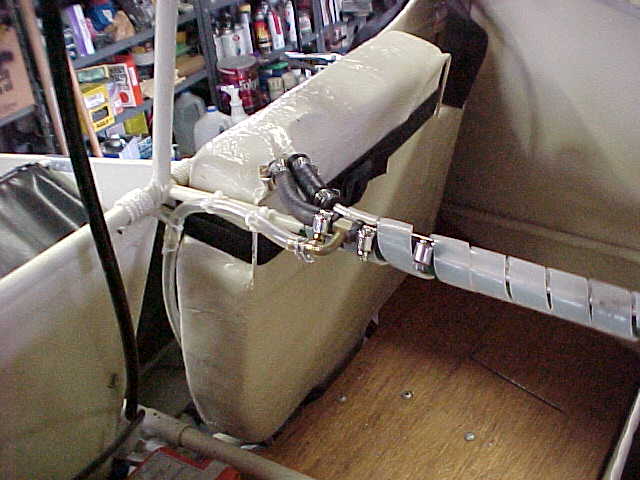
The main tank feeds a 2.5 gallon hopper
tank located behind the passenger seat. That area was modified
with the addition of an extra brace tube welded in to give the
tank something more to rest on, and all tubes were covered with
split 3/8" fuel hose, glued in place. At left is the area
modified and ready. Center, is the cargo bay floorboard with the
Facet electric fuel pump installed. At right is the tank as seen
from the rear side. The hopper tank is fed from the main tank
and vented to it, making a closed system. The fuel pickup is 2.5"
from the tank bottom, and the sump drain is at the bottom. It
takes more than 1/2 pint of water in the tank before it gets to
the fuel pickup.

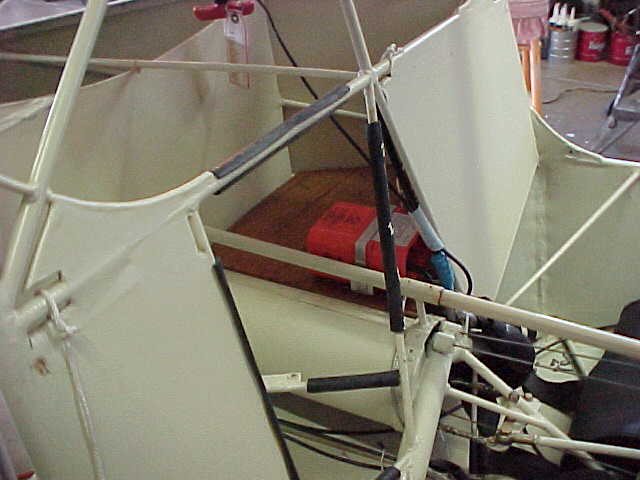
 The ELT is visible in the picture to the left, attached
to the cargo bay floor behind the pilot's seat. The center picture
shows the tank in place, the right picture shows it strapped in
and plumbed. There is a clear sight tubing running along the left
front edge of the tank for a fuel gauge. Replace this every year,
clear fuel tubing is most unreliable and subject to failure.
The cargo area is 13" high, as wide as the
fuselage, and 15" front to back. The floor of the cargo area
is 3/16" plywood. Between what you can fit in the cargo area,
plus underneath it, there is lots of room for "Stuff",
and it is all right on the center of gravity.
The ELT is visible in the picture to the left, attached
to the cargo bay floor behind the pilot's seat. The center picture
shows the tank in place, the right picture shows it strapped in
and plumbed. There is a clear sight tubing running along the left
front edge of the tank for a fuel gauge. Replace this every year,
clear fuel tubing is most unreliable and subject to failure.
The cargo area is 13" high, as wide as the
fuselage, and 15" front to back. The floor of the cargo area
is 3/16" plywood. Between what you can fit in the cargo area,
plus underneath it, there is lots of room for "Stuff",
and it is all right on the center of gravity.